Table of Contents
How to Scan Old Photos for a Video Gift (and Protect the Prints)
How to scan old photos for a video gift: scanner vs phone, the dpi to use, glare and dust fixes, cropping for video, and how to keep the original prints safe.
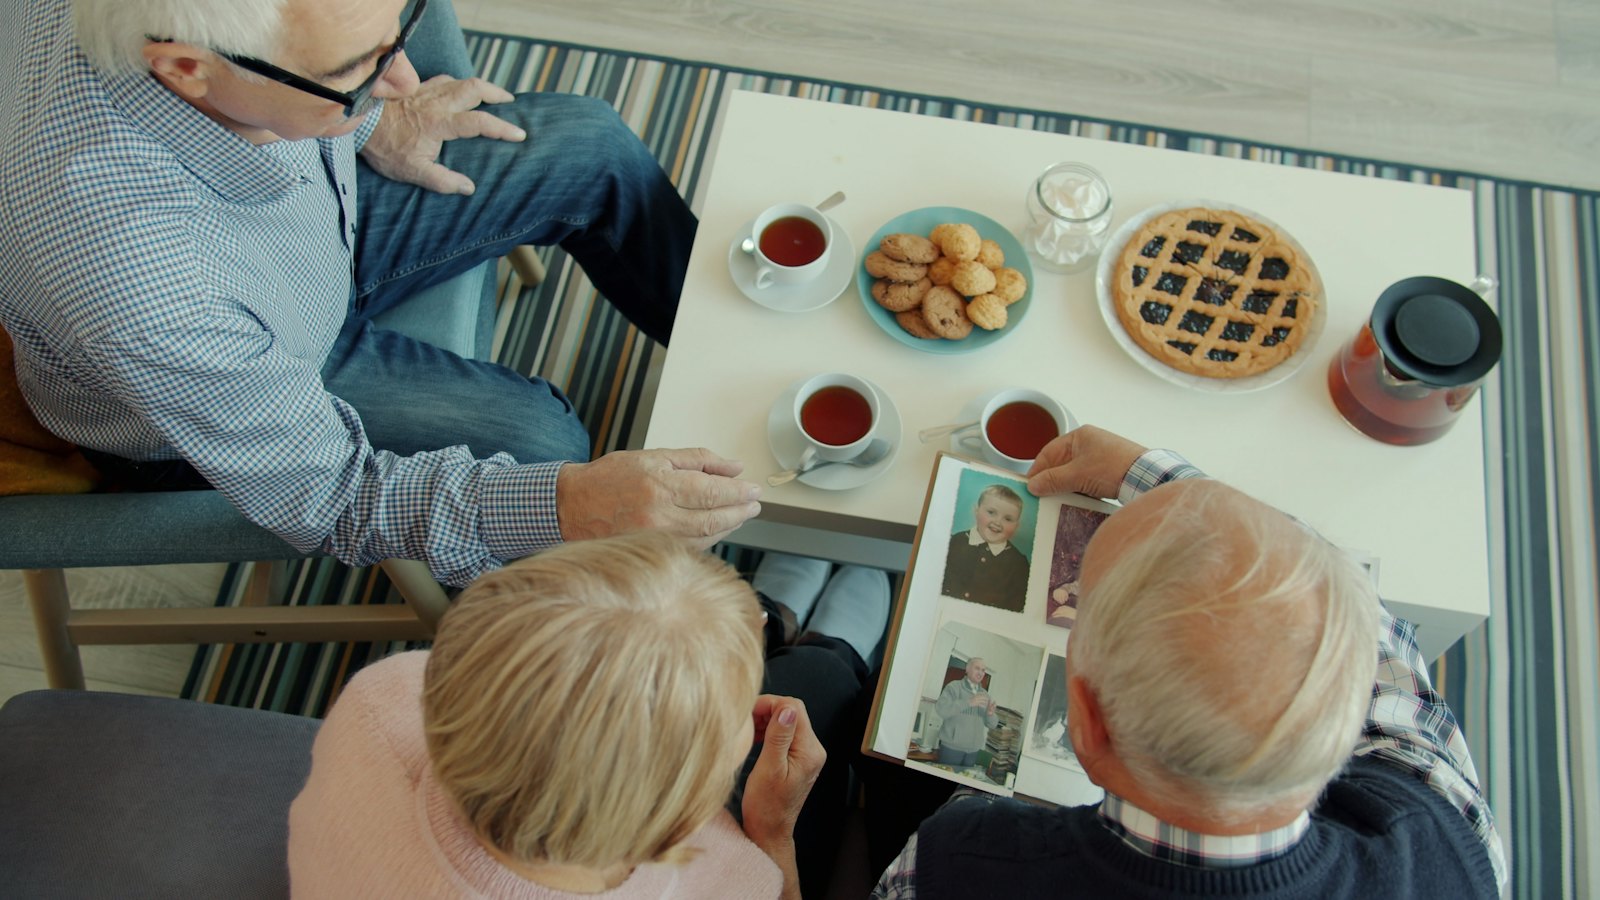
The shoebox comes down from the closet the week before your parents’ anniversary. Inside: wedding photos with scalloped edges, a Polaroid of the first car, a dozen prints of a baby nobody can identify. You want them in a video by Saturday, and you don’t want to damage a single one.
To scan old photos for a video gift, you need four things: a clean scanner or a phone app that removes glare, the right resolution (300 dpi for standard prints, more if you’ll zoom in), a master copy you never edit, and a careful way of handling the prints. The Library of Congress publishes simple guidance for exactly this, and it fits a weekend project. This guide adds what changes when the destination is a video.
Key Takeaways
- The Library of Congress suggests 300 dpi for 4×6 and 5×7 prints, 400 to 600 dpi if you’ll enlarge them, and around 1,900 dpi for slides.
- Keep two versions of every scan: an untouched master (TIFF is the preservation format; high-quality JPEG is fine for most families) and a working copy you crop and edit.
- Clean the scanner glass with a lint-free cloth dampened with water, not sprayed directly, and dust prints lightly with a dry anti-static cloth (Library of Congress).
- A phone app can work when you have no scanner: Google’s PhotoScan feature captures a print from several angles to remove glare.
- Keep the prints. People value physical versions of photos more than identical digital copies (Atasoy & Morewedge, 2018); the scan is a copy, not a replacement.
The shoebox problem
People describe the same worries: “I don’t own a scanner.” “Will scanning damage old photos?” “What dpi should I use?” “Is taking a picture with my phone good enough?” Underneath is a fear of doing something irreversible to the only copy of a memory.
A second worry hides behind the first: will the result look good in a video? A video frame is wide, and a portrait print isn’t. Old prints are small, sometimes faded, often curled. You may want to slowly zoom into a face, which is where low-resolution scans fall apart.
The good news is that scanning, done gently, doesn’t harm prints, and the settings for a video are modest. A full-HD video frame is 1,920 by 1,080 pixels. A 4×6 print scanned at 300 dpi is 1,200 by 1,800 pixels, already enough to fill most of a frame. You need more only if you plan to crop hard or zoom in.
If you haven’t sorted the shoebox yet, our guide to telling a story with photos that are out of order covers arranging undated prints. Sort first, scan second; you’ll scan fewer photos.
What the archivists recommend
Resolution: 300 dpi for prints, more for small originals and zooming
The Library of Congress’s one-page guide, Scanning Your Personal Collections, says that in general you can scan documents and photos (4×6 and 5×7) at 300 dpi, and at 400 or 600 dpi if you want to enlarge them to 8×10 or larger. Because slides are smaller than prints, it suggests around 1,900 dpi for slides. Mike Ashenfelder’s post on the Library’s Signal blog, Personal Digital Archiving: The Basics of Scanning, puts 300 to 400 dpi as satisfactory for snapshot prints and warns that more dpi is not always better: file sizes balloon while visible detail stops improving.
For video, translate “enlarge” as “zoom.” If you’ll slowly push in on a face, or crop one person out of a group photo, scan that print at 600 dpi.
Formats: a master and a working copy
The Signal post describes TIFF as the preferred format for digital photo preservation and recommends saving two versions: a master version and a working copy. The master stays untouched and safe; the working copy, usually a JPEG, is smaller and easier to edit and share. The Library’s scanning sheet adds a practical option: for color photos, save as a medium-quality JPEG unless you might reprint, in which case use high quality. For a gift you’ll edit and maybe print, choose high quality.
Handling and cleaning
Both Library of Congress sources emphasize preparation. Clean the scanner glass so it’s free of dirt, smudges or particles. Remove paper clips, staples and tape where you can without damaging the photo. The Signal post adds specifics: wipe the glass with a plain lint-free cloth dampened with water, wipe the photo lightly with a dry anti-static cloth, avoid touching the glass when placing photos because skin oils smudge, and lift prints off by sliding a sheet of paper underneath.
Naming and copies
The Library recommends descriptive file names and a consistent folder structure, at least two copies of the collection in different locations, and moving scans to current storage every five to seven years. Its broader page on personal digital photographs adds that you should check at least once a year that your files still open.
Phone scanning
Google’s help page on scanning photos describes PhotoScan in the Google Photos app: you hold the phone above the print and move it so a circle passes over four dots, which lets the app remove glare. You can turn glare removal off to scan faster, but then glare stays. The page suggests taking photos out of sleeves or albums and turning on the flash to reduce residual glare and shadows. Afterward you can rotate the scan and adjust its corners.
Why the prints still matter
Ozgun Atasoy and Carey Morewedge (2018, Journal of Consumer Research) found across five experiments, using goods including souvenir photographs, that people valued physical versions more than identical digital ones, and traced the gap to psychological ownership. It’s a reason to scan for sharing and video while treating the print as the keepsake. We wrote more about this in why a gift you can hold is valued more.
Scanner, phone or service?
| Method | Best for | Typical quality | Time for 50 prints | Limits |
|---|---|---|---|---|
| Flatbed scanner at 300–600 dpi | Most family prints; anything you’ll crop or zoom | High, even lighting, no glare | 1.5–3 hours | Needs a scanner; slow for big batches |
| Phone app with glare removal (e.g., PhotoScan) | Albums you can’t remove prints from; quick projects | Good for video; less for big prints | About an hour | Detail limited by phone camera and lighting; corners need adjusting |
| Plain phone photo | A single emergency shot | Variable; glare, tilt and shadow are common | Fast | Hard to get flat and evenly lit |
| Professional scanning service | Hundreds of prints, slides or negatives | High, consistent | Days to weeks, out of your hands | Cost; prints leave the house |
Timings are rough estimates from typical home workflows, not measurements. The pattern holds: a flatbed wins on quality, a phone app wins on speed and on photos stuck in albums.
How to scan old photos for a video gift, step by step
Step 1: Choose and sort before you scan
Pick the 15 to 40 prints the story actually needs. Scanning a whole shoebox is a different (worthy) project. Common mistake: scanning everything “while you’re at it” and running out of weekend before the video is built.
Step 2: Prepare a clean, dust-free surface
Wash and dry your hands. Wipe the scanner glass with a lint-free cloth dampened with water, never sprayed directly onto the glass. Lightly dust each print with a dry anti-static or microfiber cloth. Don’t use household cleaners on prints. Common mistake: forcing a print out of an old “magnetic” album with sticky pages. If it resists, scan it in place with a phone app instead.
Step 3: Set the resolution and color
Scan standard prints at 300 dpi, color mode even for black-and-white prints if you want to keep the paper’s warm tone (grayscale is fine otherwise). Use 600 dpi for small prints, wallet photos and anything you’ll crop or zoom. Turn off the scanner’s automatic “enhancement” for the master if you can; you can always edit the copy.
Step 4: Place, scan and lift carefully
Place the print face down near a corner, square to the edge. Several small prints can go on the glass at once if your software can split them, with a finger’s width between. Lift prints by sliding paper underneath rather than pinching the edges. Scan the back, too, if it has handwriting; that’s often the only record of names and dates.
Step 5: If you’re using a phone, control the light
Lay the print flat on a dark, matte surface near a window with indirect light. Use a glare-removal app and follow its movement guide. Remove prints from plastic sleeves. Check each result for glare streaks and keystoning (a trapezoid shape) and rescan if needed.
Step 6: Save the master, then make a working copy
Save the master as TIFF or high-quality JPEG with a descriptive name (“grandparents-wedding-church-front.tif”). Duplicate it for editing. In the working copy, straighten, crop the white border, and adjust brightness gently. Common mistake: heavy AI “restoration” on the only copy. It can change faces. Keep the master clean.
Step 7: Crop for the video frame
Most videos are wide (16:9); many prints are portrait. Decide per photo: show it whole on a soft background, crop to the faces, or use a slow pan. Faces should fill a good part of the frame, especially on small screens. Keep crops on the working copy only.
Step 8: Put the prints back, labeled
Return prints to an envelope or archival box, with any loose notes. Write names lightly in pencil on the back of unlabeled prints if the family agrees. Then back up the scans in two places.
How to make it personal
If you have 10 minutes
Scan, or phone-scan, the one print that means the most, front and back. Send it to the person in it, or to whoever might know the story behind it. Ask one question about the day it was taken.
If you have a weekend
Scan your 20 to 40 chosen prints, record a relative telling the story behind three of them, and build the video with those voices over the scans. The back of a print with handwriting can make a moving final frame.
If you want it to last years
Organize the masters in named folders with a short note listing who’s in each photo. Store a second copy away from the house. Put the prints themselves in an archival box. You’ve made the photos shareable without making the originals disposable.
The question to ask yourself: “If the prints were lost tomorrow, would my scans and notes let the next generation know who these people were?”
Frequently asked questions
What dpi should I scan old photos at for a video?
For standard 4×6 and 5×7 prints, 300 dpi is enough for a video frame, in line with Library of Congress guidance. Use 600 dpi for small prints or anything you’ll crop or zoom into, and much higher (around 1,900 dpi) for slides. Higher settings mostly add file size once you’re past what you need.
Is it better to scan photos or take a picture with your phone?
A flatbed scanner gives more even lighting and more detail, which matters for crops and large prints. A phone app with glare removal is good enough for most videos and is often the better choice for photos stuck in albums. A plain phone photo without a scanning app usually suffers from glare, tilt and shadows.
Can scanning damage old photos?
Gentle scanning doesn’t harm typical prints. The risks come from handling: dirty glass, fingerprints, forcing prints out of sticky albums, or cleaning them with liquids. Clean the glass, handle prints by the edges or with paper underneath, and scan stuck photos in place with a phone app.
Should I save scanned photos as JPEG or TIFF?
The Library of Congress describes TIFF as the preferred preservation format and suggests keeping a master and a working copy. For most family projects, a high-quality JPEG master plus edited copies works well. Whatever you choose, never edit the master.
Should I keep old photos after scanning them?
Yes. A scan is a copy, and research finds people value physical photographs more than identical digital ones. Store prints in an envelope or archival box away from heat and humidity, and keep two copies of the scans in different places.
If your scans are headed into a gift video, the Watch N Wow creator accepts photos (up to 20 MB each) and clips, drafts a video and an original song from them and your story, and shows you the draft to review before anything is built.
About the author
Ricky Flores is the founder of Watch N Wow and an electrical engineer with 15+ years of experience building consumer technology at Apple, Samsung, and Texas Instruments. In Dallas, Texas, he builds the Mini Memory TV by hand: a small retro TV that plays a video, a message and an original song made from your photos and your story. Read more at watchnwow.com.
Sources
- Library of Congress. “Scanning Your Personal Collections.” Personal Digital Archiving Series. https://digitalpreservation.gov/personalarchiving/documents/PA_scanning.pdf
- Ashenfelder, M. “Personal Digital Archiving: The Basics of Scanning.” The Signal, Library of Congress. https://blogs.loc.gov/thesignal/2014/03/personal-digital-archiving-the-basics-of-scanning/
- Library of Congress. “Personal Archiving: Digital Photographs.” https://digitalpreservation.gov/personalarchiving/photos.html
- Google Photos Help. “Scan your photos.” https://support.google.com/photos/answer/7177983
- Atasoy, O., & Morewedge, C. K. (2018). “Digital goods are valued less than physical goods.” Journal of Consumer Research, 44(6), 1343–1357. https://doi.org/10.1093/jcr/ucx102